Blog
A Complete Guide to Installing Ubuntu 26.04 Server in VirtualBox
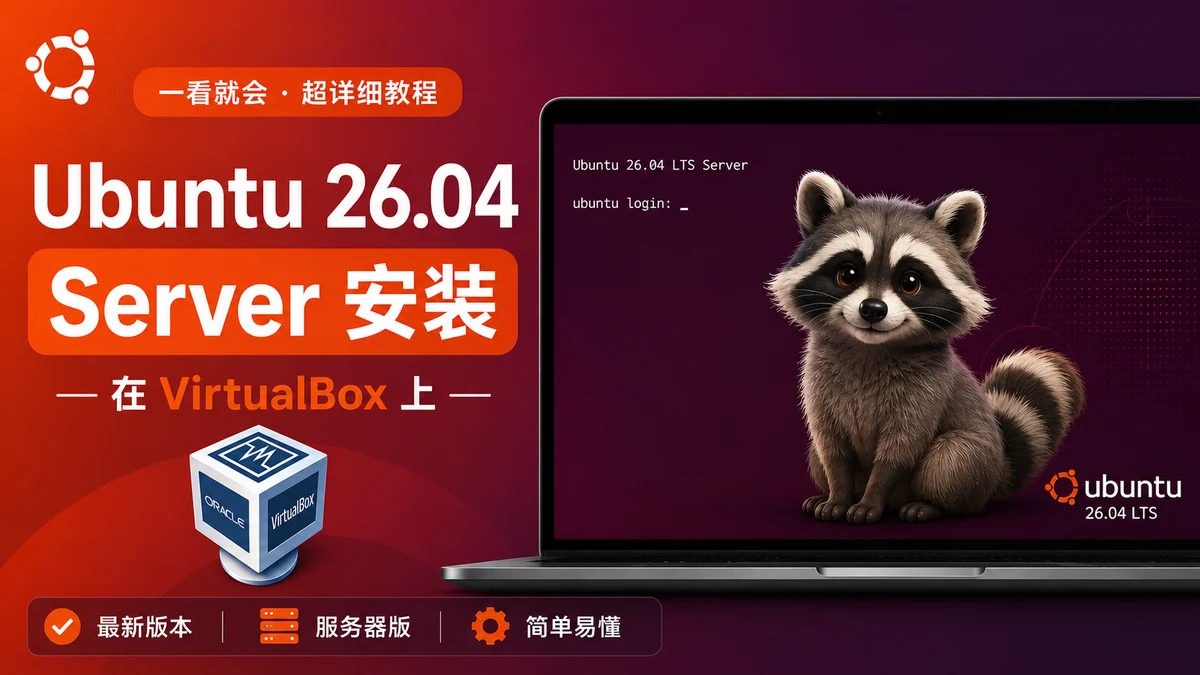
Many developers and learners want to have a Linux server on their local computers for testing, development, and learning purposes. Today, we will walk through the process of installing Ubuntu 26.04 Server using VirtualBox.
I. Preparation
First, you need to download two files:
- VirtualBox (virtual machine software)
- Ubuntu 26.04 Server ISO image
It is recommended to download them from my website: https://www.alvinbella.org/store/app/
- Search for and download the VirtualBox version compatible with your operating system under "Applications."
- Locate Ubuntu Server in the Linux category and select the AMD64 version.
- Using qBittorrent to download via the magnet link is recommended for more stable speeds.
II. Creating the Virtual Machine
- Open VirtualBox and click New.
- Enter the virtual machine name: Ubuntu 26.04 Server.
- Select the Ubuntu 26.04 Server ISO image file you just downloaded.
- Click Next.
Recommended Basic Configuration:
| Item | Recommended Setting | Notes |
|---|---|---|
| Memory | 2048 MB | 2GB is sufficient for daily use |
| Processor | 2 cores | Recommended for standard PCs |
| Hard Disk | Default | 20GB or more recommended |
| Hostname | virtualbox | Customizable |
After setting the username and password, click Finish, and the virtual machine will automatically begin the installation process.
III. Installing the System
The installation process is straightforward; simply follow the on-screen prompts. Once installed, restart the system and log in using the username and password you just set.
You will notice that operating directly within the virtual machine window is inconvenient; it is often preferable to connect via SSH using the host machine's terminal.
IV. Network Configuration (Important)
By default, VirtualBox uses NAT networking, assigning an IP address (usually in the 10.x.x.x range) that the host machine cannot directly access. Solution:
- Shut down the virtual machine.
- Go to the virtual machine settings → Network.
- Change the "Attached to" (connection mode) setting from NAT to Bridged Adapter.
- Restart the virtual machine.
Check the IP address after restarting; if it changes to 192.168.x.x, the bridged network is active.
V. Installing OpenSSH Server
Ubuntu 26.04 Server does not come with OpenSSH Server installed by default; you need to install it manually.
1. Change Software Repositories (Recommended)
The default repository is the Tsinghua mirror, which may be slow. It is recommended to switch to the Alibaba Cloud mirror:
sudo sed -i 's|http://.*archive.ubuntu.com|https://mirrors.aliyun.com|g' /etc/apt/sources.list.d/ubuntu.sources
sudo sed -i 's|http://.*security.ubuntu.com|https://mirrors.aliyun.com|g' /etc/apt/sources.list.d/ubuntu.sources
Then update the system:
sudo apt update
sudo apt upgrade -y
2. Install OpenSSH Server
sudo apt install openssh-server -y
Once installed, you can connect from the host machine:
ssh username@192.168.x.x
VI. Configuring SSH Key-based Login (Recommended)
Entering a password every time is inconvenient; setting up key-based login is recommended:
ssh-copy-id username@server-ip
After this, you can log in without a password.
VII. Resolving IP Address Changes (Using avahi)
The virtual machine's IP address may change after every restart, making connections inconvenient. We can install avahi-daemon to solve this:
sudo apt install avahi-daemon -y
Once installed, you can connect directly using the hostname:
ssh username@virtualbox.local
Even if the IP address changes, you can still log in normally as long as the hostname remains the same. ##### VIII. Common Diagnostic Commands
After installation, you can use the following commands to check the system status:
# Check kernel version
uname -r

# Check resource usage (recommended)
htop

# Check current directory
pwd

# Check memory usage
free -h
Ubuntu 26.04 Server comes with vim pre-installed by default, so you can use it immediately.
Summary
Through the steps above, we have successfully installed and configured Ubuntu 26.04 Server in VirtualBox, covering the following key tasks:
- Virtual machine creation and basic configuration
- Switching the network mode to Bridged
- Installing OpenSSH Server
- Configuring key-based authentication
- Enabling hostname-based access using Avahi
You now have a local Linux server ready for use—ideal for learning, testing, and development.
If you encounter any issues during the installation process, please feel free to leave a comment below.
- History of open source software development 40
- Play SuperTuxKart on Ubuntu: The Open-Source Mario Kart! 22
- 🚀 Ubuntu 26.04 LTS Officially Released! Is It Worth Upgrading from 24.04? 13
- Ventoy: A Revolutionary Tool That Transforms USB Booting (Latest 2026 Version) 11
- A Complete Guide to Installing Ubuntu 26.04 Server in VirtualBox 10